

When we work with several development environments in which the same api structure may be present but it is necessary for each environment to connect to its own database.
Another option is to enter manually to a new database all the scripts in order to restore the database in the new environment, but it is something that takes time and is a little risky because you must know the exact order to enter all the scripts.
To facilitate this process we will implement migrations, which consist in the execution of scripts in a specific order when connecting to a new database, any sql script can be executed.
This gives us an advantage in development and deployment time since locally we can test migrations with new additions to the database and when the migrations are deployed they will only take the new scripts and execute them in such a way that the database can be progressively updated.
These scripts can be of addition or modification of structures, they can also be of addition of data to specific tables and modification of the same ones, any sql query can be executed there.
The process of this blog is a continuation of how to create an api rest with golang and postgres using beego
Content
- How migrations work with beego
- Migration generation
- Configuring migrations
- Migration execution
How migrations work with beego
- The connection with the database is created.
- The migration command is executed and it will go through all the migration files and the name of the migration is checked in order to know if the migration has already been done, this validation is done by validating the records that create the migrations in the database (explained in later steps).
- For each migration file that was not previously executed, a method that executes a sql statement or a sql script is executed.
- After executing the script, if the process was successful in the public schema, a record will be created in a migration table indicating the name of the migration executed, this way it is guaranteed that the migration will not be executed again in the same database.
If you are working with a CI system or manually, in case of failure in migrations you can perform a rollback which will see how to execute it later.
Migration generation
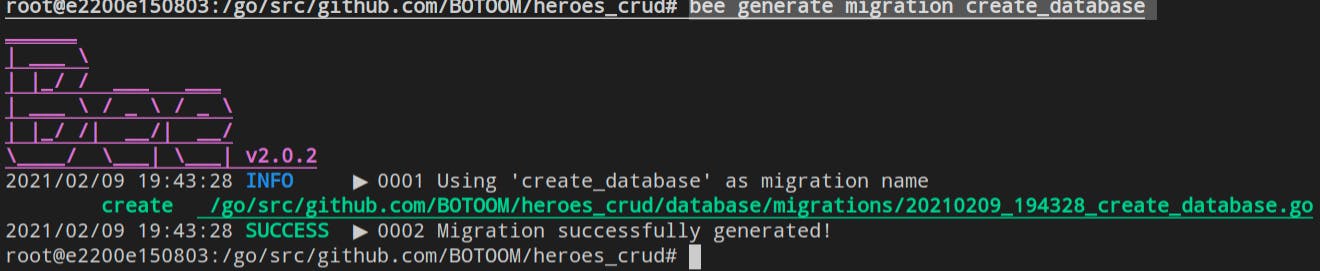
Run the following command to generate migrations
bee generate migration [name migrate file]
In this case
bee generate migration create_database
Will appear in your terminal something similar:
A new folder named database will be created and your directory will look similar to this one:
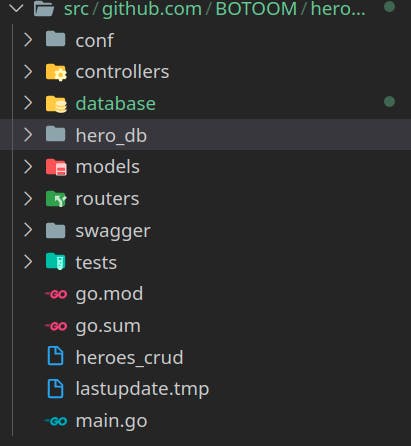
The migration file will have a name generated by the date and name given.
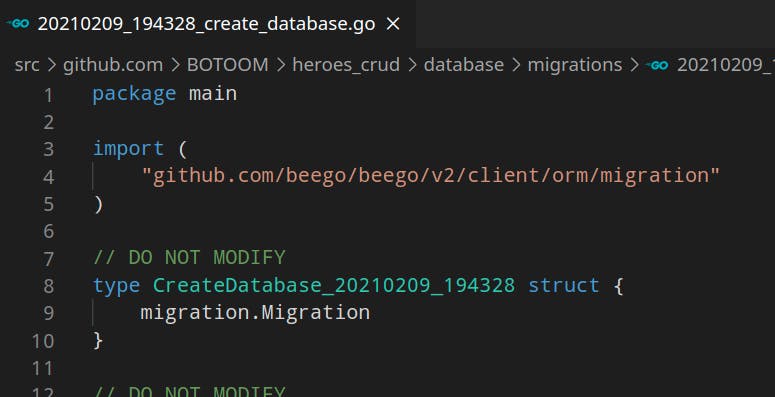
Configuring migrations
In the migration file there are 3 functions init , Up and Down. The Init function in which we have the name of the migration, this name is very important because with it we will know if the migration was already done or not in the database. The Up function is in charge of executing the script and the Down function is executed only if the migration fails, in that case a rollback will be executed.
Previously in the example repository there is a folder called hero_db where the sql model is located, inside the database folder we will create a folder called script and we will place the sql file there.
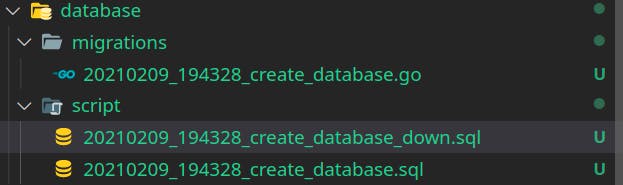
Additionally it is necessary to create a script in case the creation script fails, for that we will create the following script 20210209_194328_create_database_down.sql, in this case the script will contain:
DROP SCHEMA IF EXISTS hero CASCADE;
Our database folder will look something similar:
In the file 20210209_194328_create_database.go replace the Up function as shown below:
func (m *CreateDatabase_20210209_194328) Up() {
    file, err := ioutil.ReadFile("../script/20210209_194328_create_database.sql")

    if err != nil {
        // handle error
        fmt.Println(err)
    }

    requests := strings.Split(string(file), ";")

    for _, request := range requests {
        fmt.Println(request)
        m.SQL(request)
        // do whatever you need with result and error
    }
}
modify the Down function
func (m *CreateDatabase_20210209_194328) Down() {
    file, err := ioutil.ReadFile("../script/20210209_194328_create_database_down.sql")

    if err != nil {
        // handle error
        fmt.Println(err)
    }

    requests := strings.Split(string(file), ";")

    for _, request := range requests {
        fmt.Println(request)
        m.SQL(request)
        // do whatever you need with result and error
    }
}
import the following bookstores
"fmt"
"io/ioutil"
"strings"
Migration Execution
In the conf/app.conf file you will find a variable called sqlconn copy that value.
To execute the migration we will execute the following command in bash
bee migrate -driver=postgres -conn=[sqlconn]&search_path=public
replacing
bee migrate -driver=postgres -conn=postgres://postgres:docker@192.168.0.6/heroes?sslmode=disable&search_path=public
If the execution is successful, you will see something similar to the following

We will also see the changes reflected in the database, additionally, in the database, in the public schema, a table called migrations has been created and in its records we can find the migrations carried out

This ensures that a migration is not executed more than once on the same database.
RollBack
In case of failure, a roll-back can be performed by executing the following command:
bee migrate rollback -driver=postgres -conn=[sqlconn]
Conclusion
Being able to perform controlled migrations by the api allows a greater speed when deploying changes in the databases, it must be taken into account that you must have a correct user management of the database that has permissions for migrations. These migration processes can be optimized if they are implemented with a CI/CD.